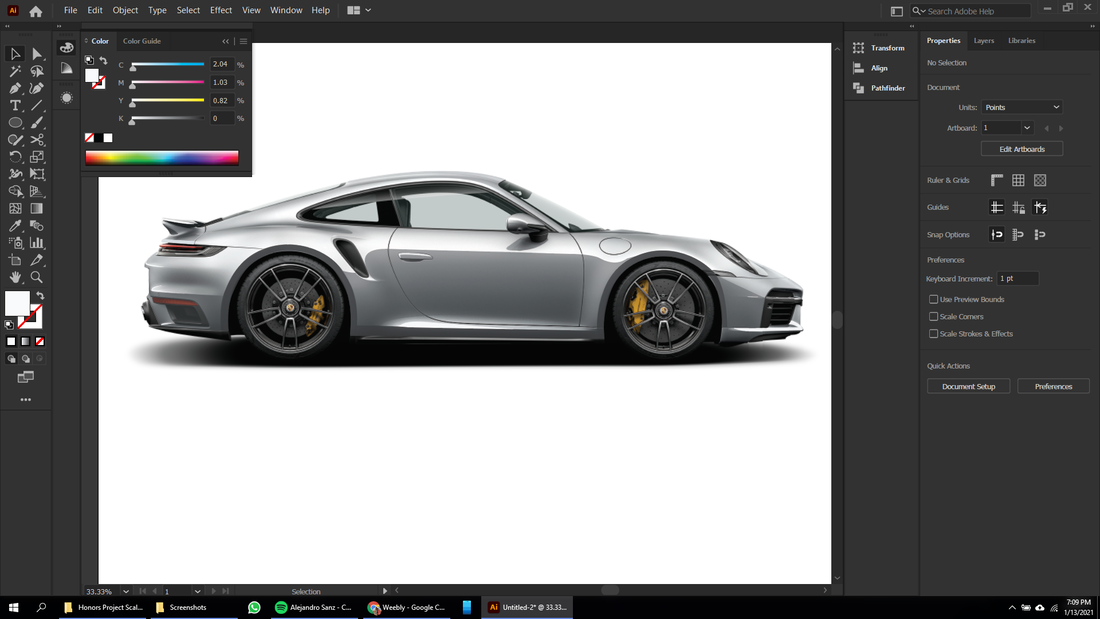
Porsche 911 Tutorial
Below I am going to show you how to create the following car in Illustrator. Along with the car, I will show you how to make a simple background to accompany it.
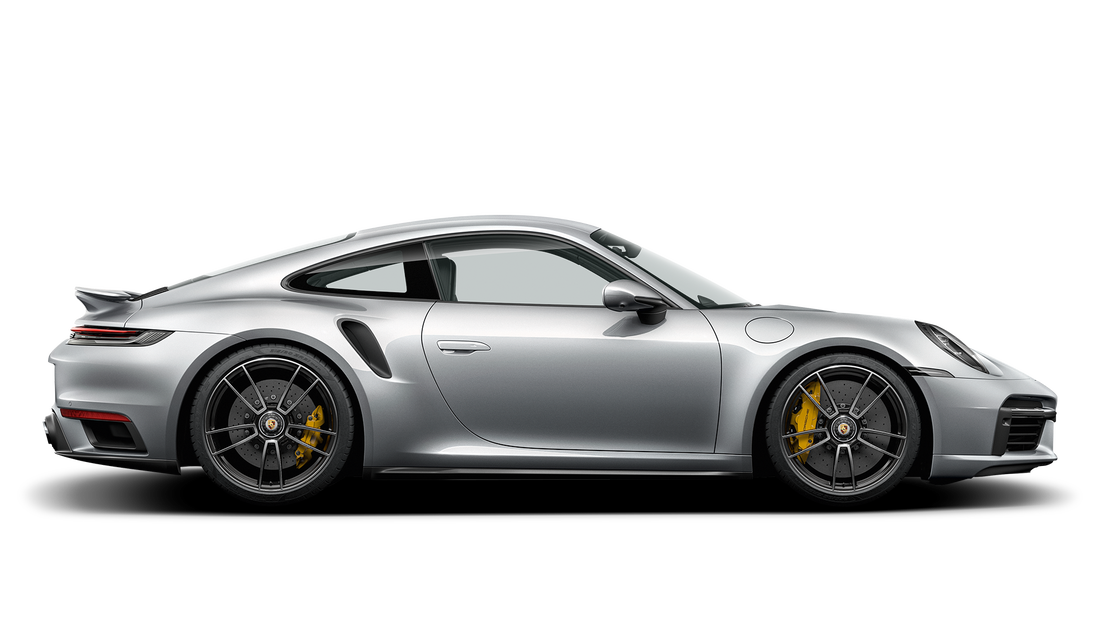

The first step is going to be to select your image, in this case this 911, and importing it into Illustrator. We will create a 2000x2000 artboard so we have a lot of space to work with.
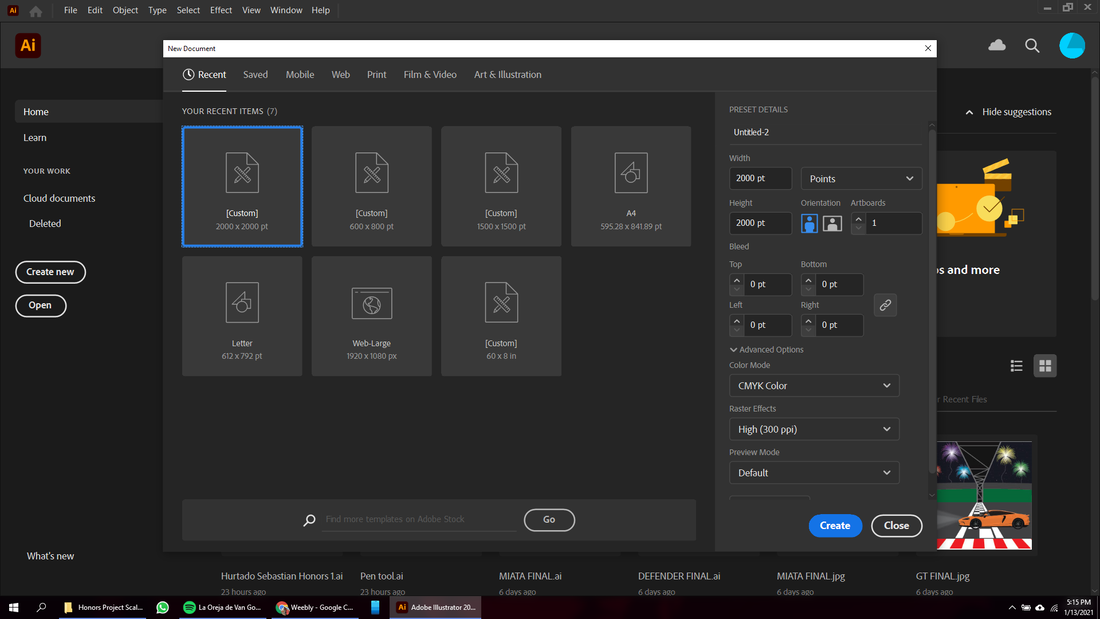
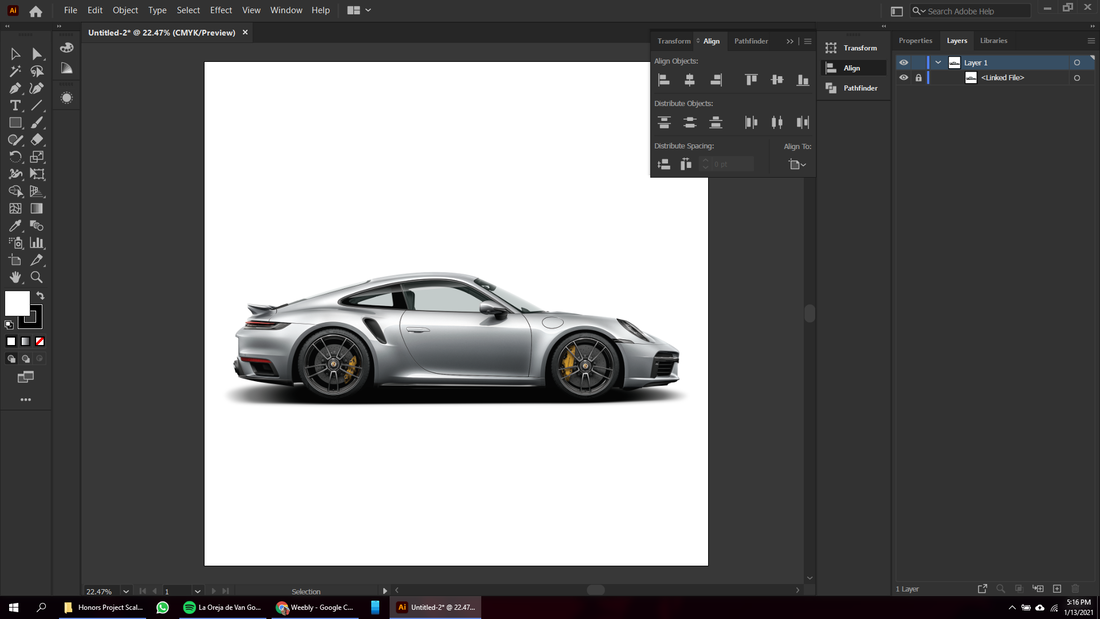
Now we are going to center the image and lock it like you see below.
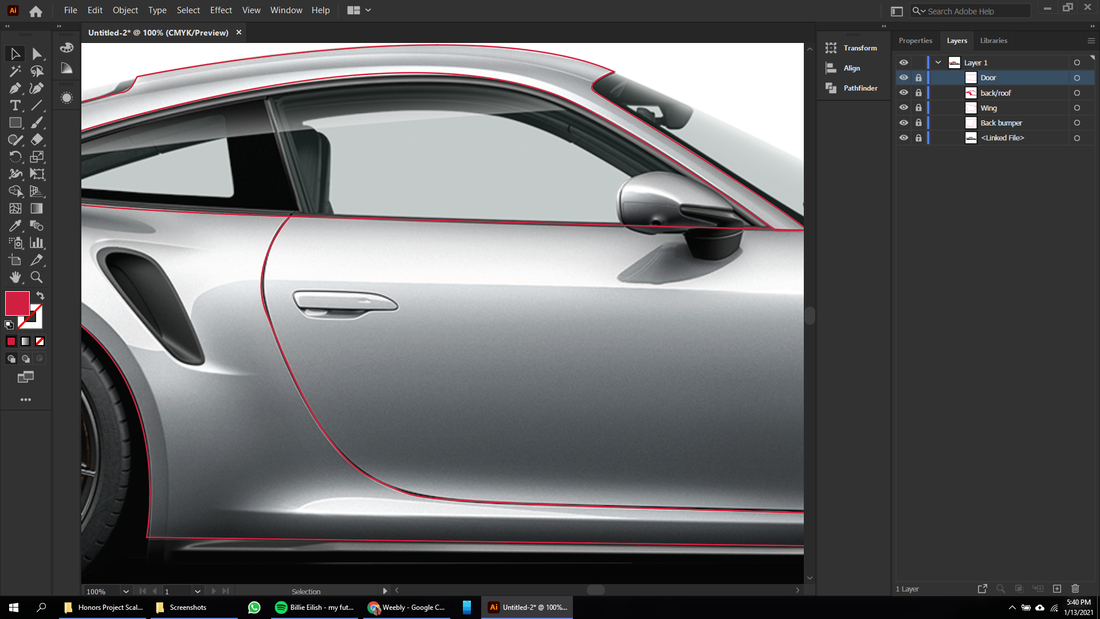
With this we can start wherever but I will start from the back and do the front. Using the pen tool (P), I am going to trace the larger parts of the car. If you don't know how to use the pen tool I have a quick tutorial on it, or you can learn using the bezier game.

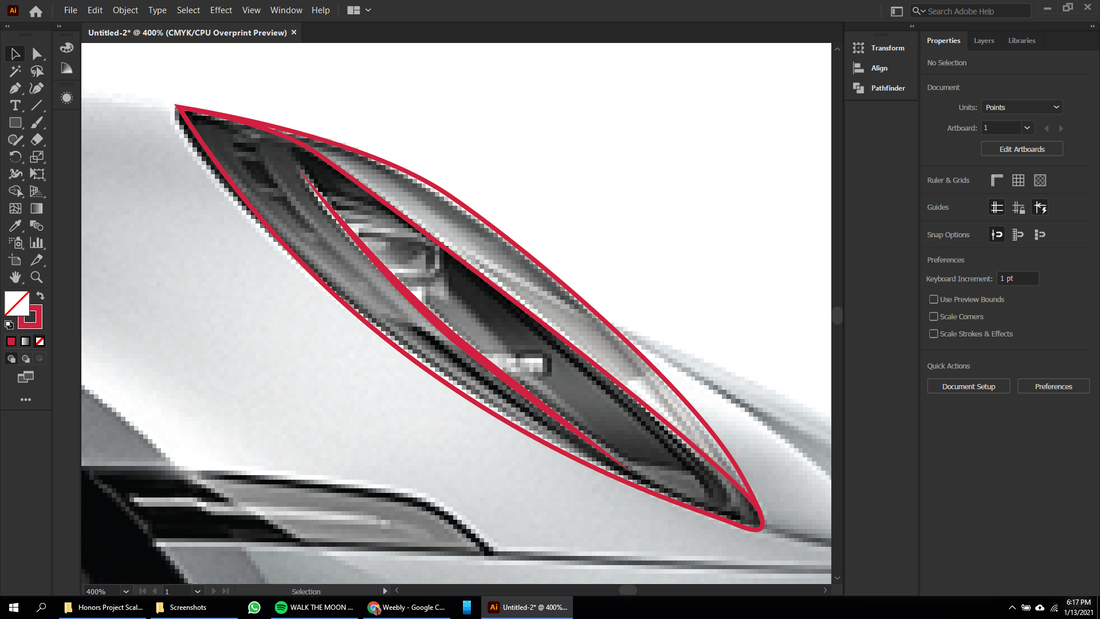
We are going to zoom in and pick a starting point. Also make sure that the fill has no color, and that the outline is a color we can easily differentiate from the image. Here I chose magenta. We are going to continue this path until we make a closed shape.
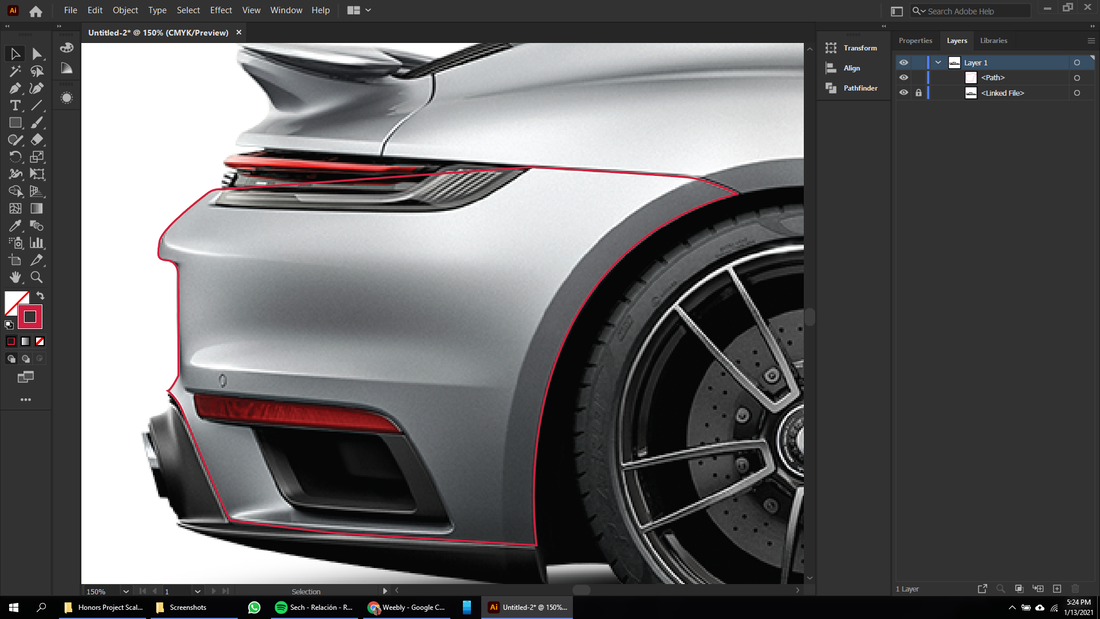
Here we see the first part, you should outline every piece of the car separately and try to stick to the car's lines as much as possible. I also cut through the tail light because The taillights will go above this layer, and so that there aren't any gaps or imperfections. Now we will keep doing this until we have every large part of the car traced. Make sure to name every part and lock it for now to make it easier.
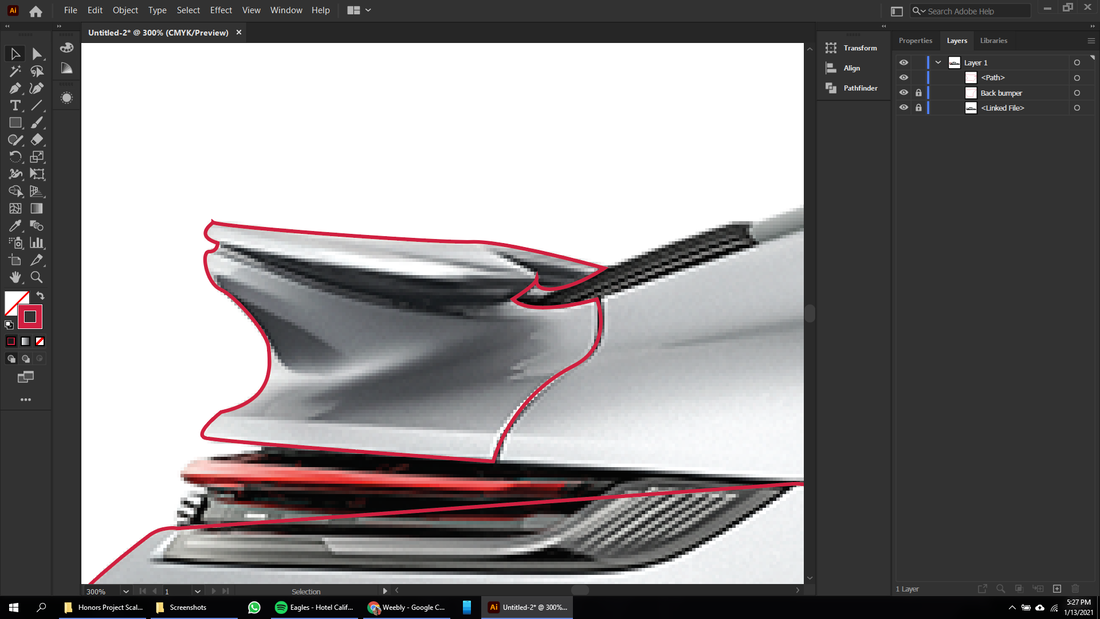
And for now don't worry about shading, just get every part of the car outlined. We will do details and shading after all that is done.
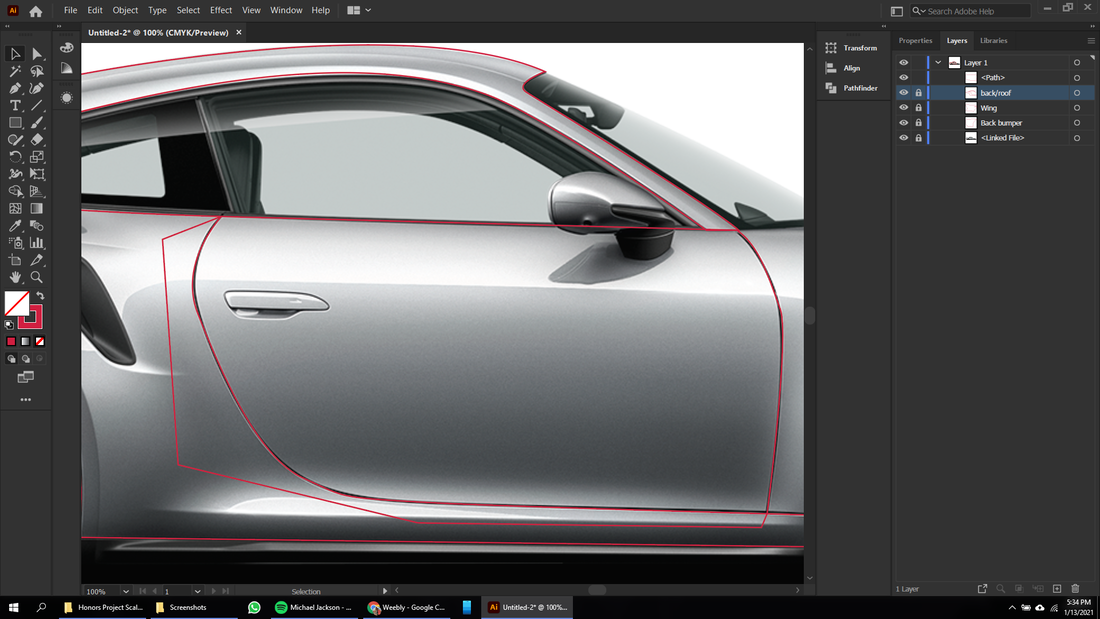
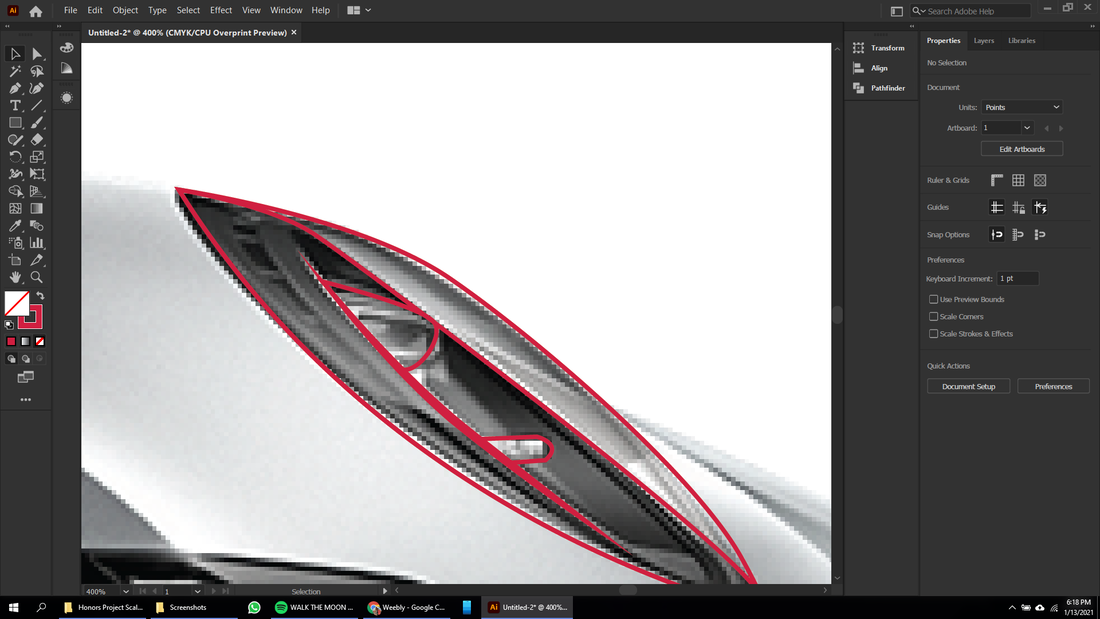
For paths where you can't recreate the curve exactly, just make it go past it and follow the steps below.
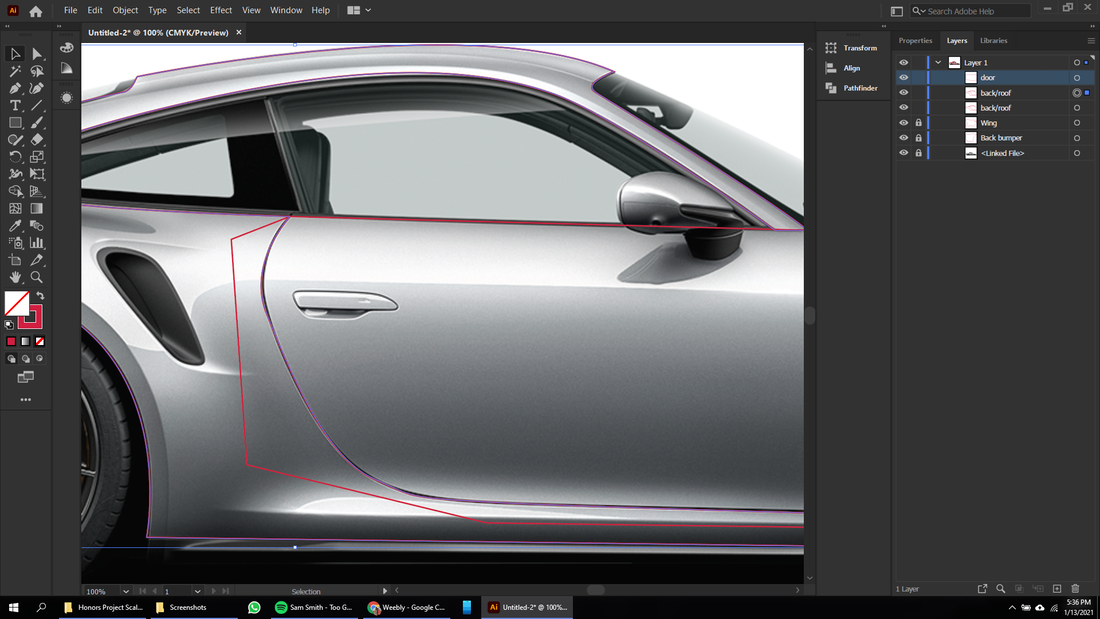
I am going to select the path with curve that I want to recreate, and copy and paste it in front (Ctrl+C then Ctrl+F) Now I am going to select the new copy and the door path, and change the outline to a fill (Shift+X).
Now we are going to press the shape builder tool (Shift+M) and while holding alt, left click on the excess of the door. This will delete that part. Now we can delete the copied layer, and change the fill to an outline again on the door (Shift+X).
Now the excess is gone and the door and back panel line up perfectly.
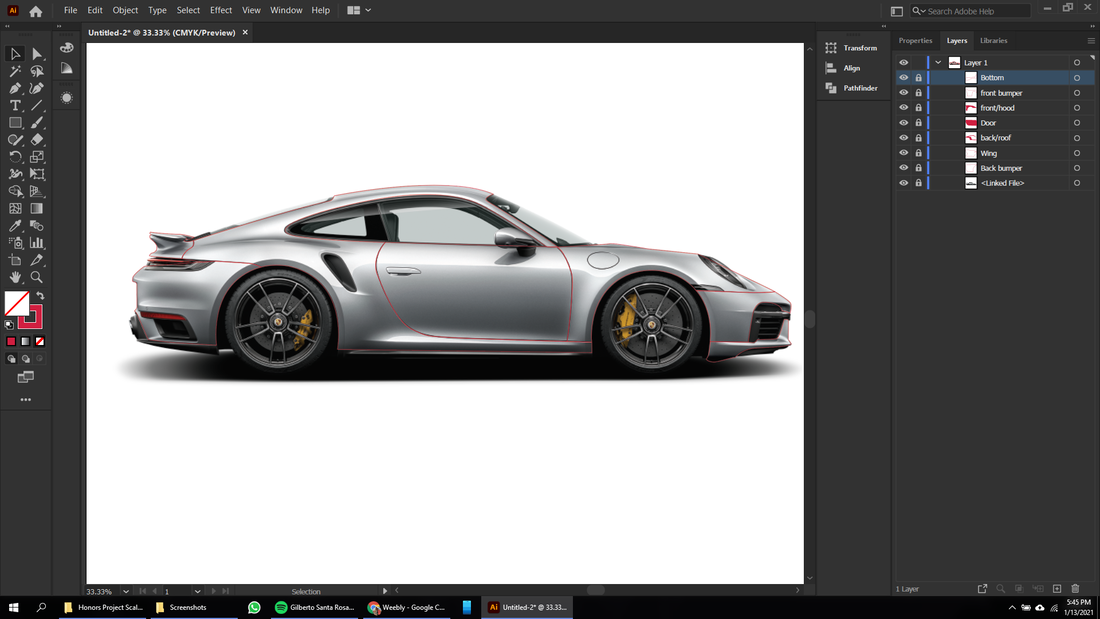
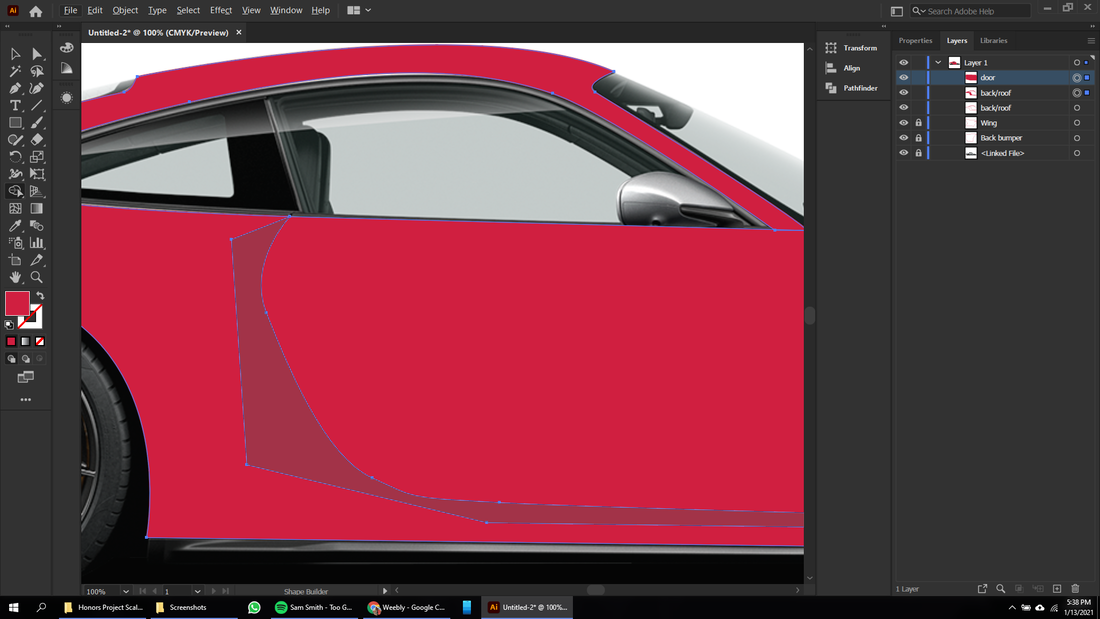
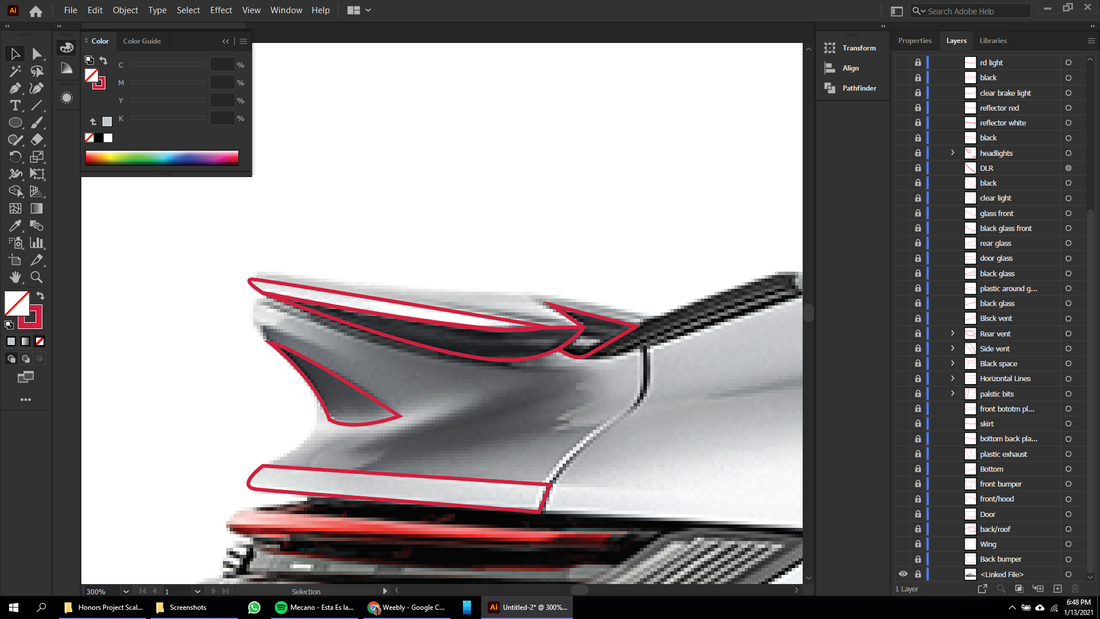
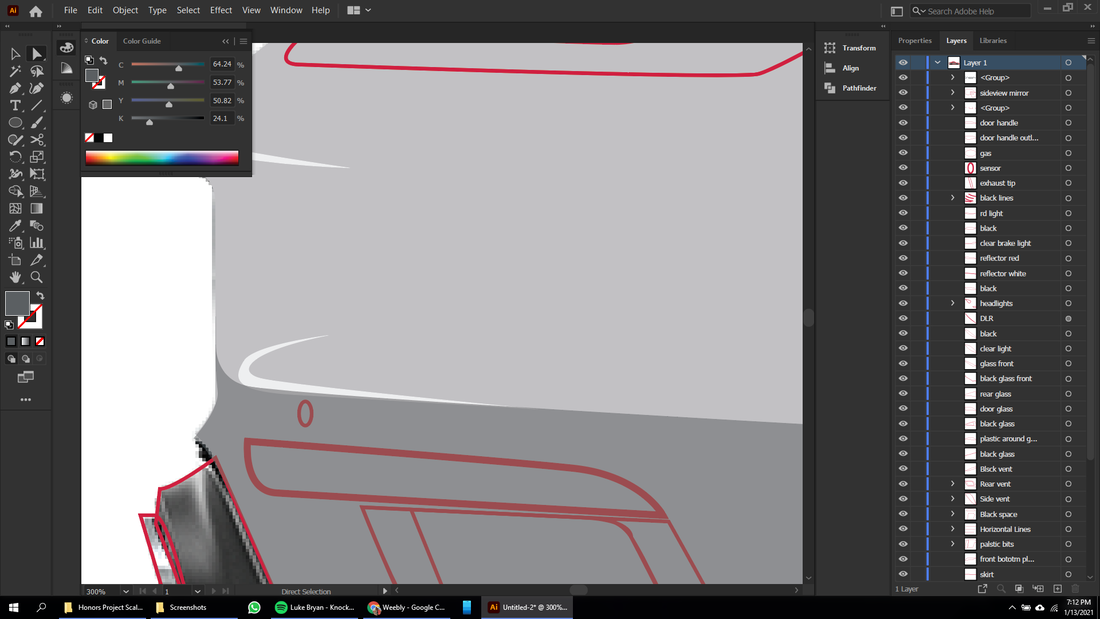
Now that we have gotten every major piece of the car, we are going to start on the small black/plastic bits. The process will be the same, outlining it all and naming it accordingly. Don't stress about getting every little detail though, we are going for a minimalist style and don't need to make this photorealistic.

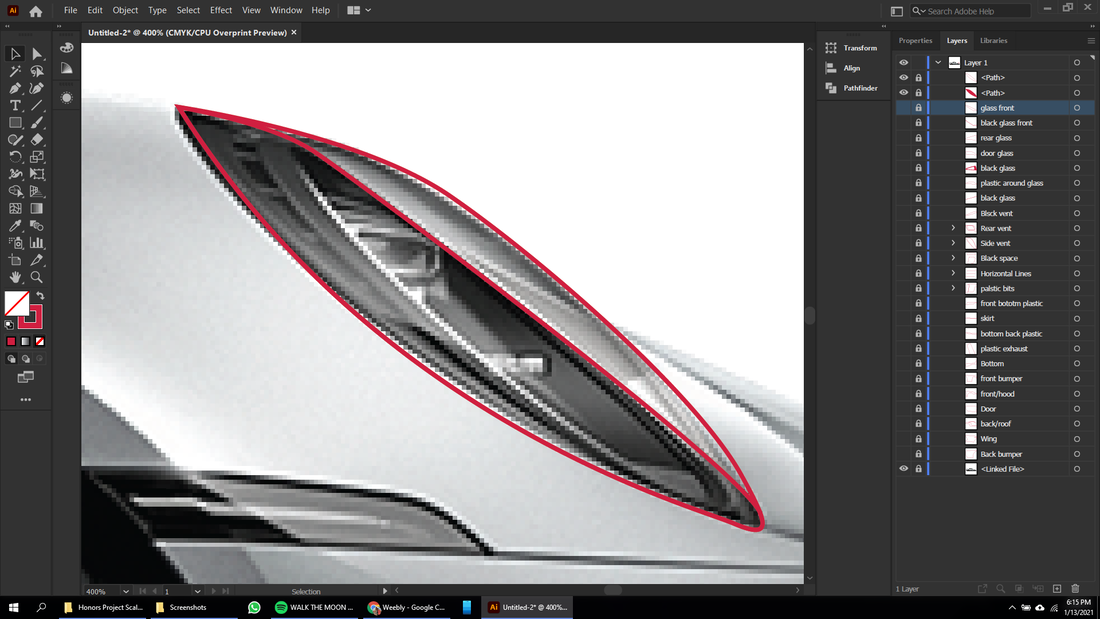
Also make sure to group accordingly to make life easier, if there's 3 parts that are identical in color or style, group them together to have less clutter. Or if there's paths that will just be black (empty space) then group that too. There will be a lot of paths in the end so we want to stay as organized as possible. Along with the glass, also make the glass (windshield, and glass on door). To do that you can just use the technique we used earlier for the door to ensure a perfect fit.
Alright now that we have most of the black/plastic bits we are going to make the lights.

First we are going to make the clear housing of the lights.
After that we are going to make one path for the black background of it. We aren't going to put too much details into the lights. We just want the basics.
For the running lights, we are going to make a line following the small part that we can see, and make the stroke 2 and width profile 1.
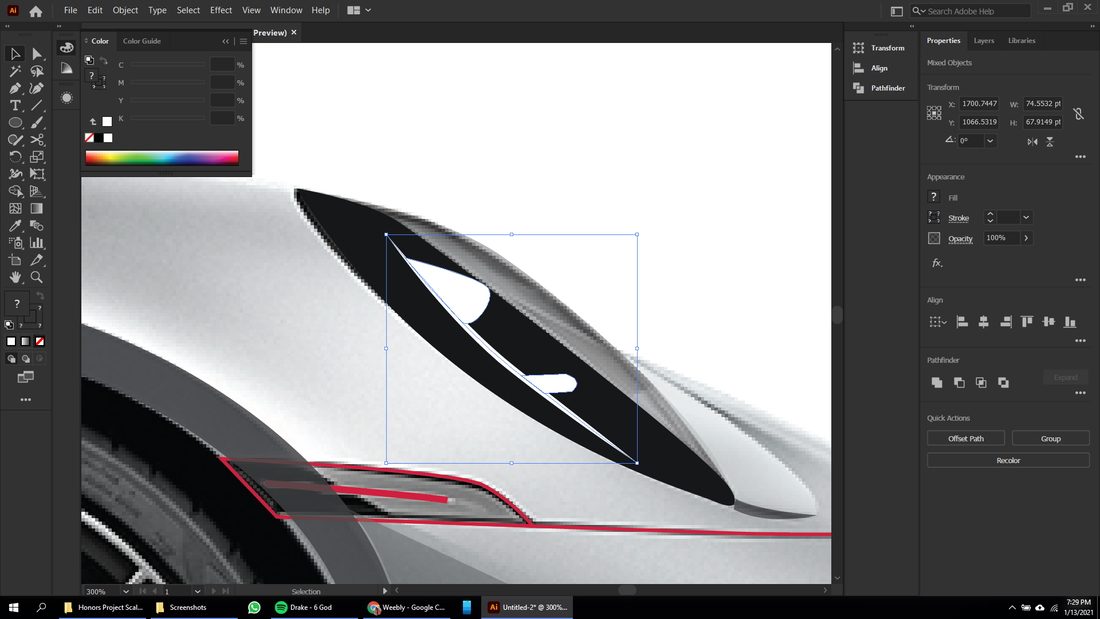
For the bulbs, we are just going to make outlines and leave them for now. Now let's move onto the reflectors. these are pretty easy.
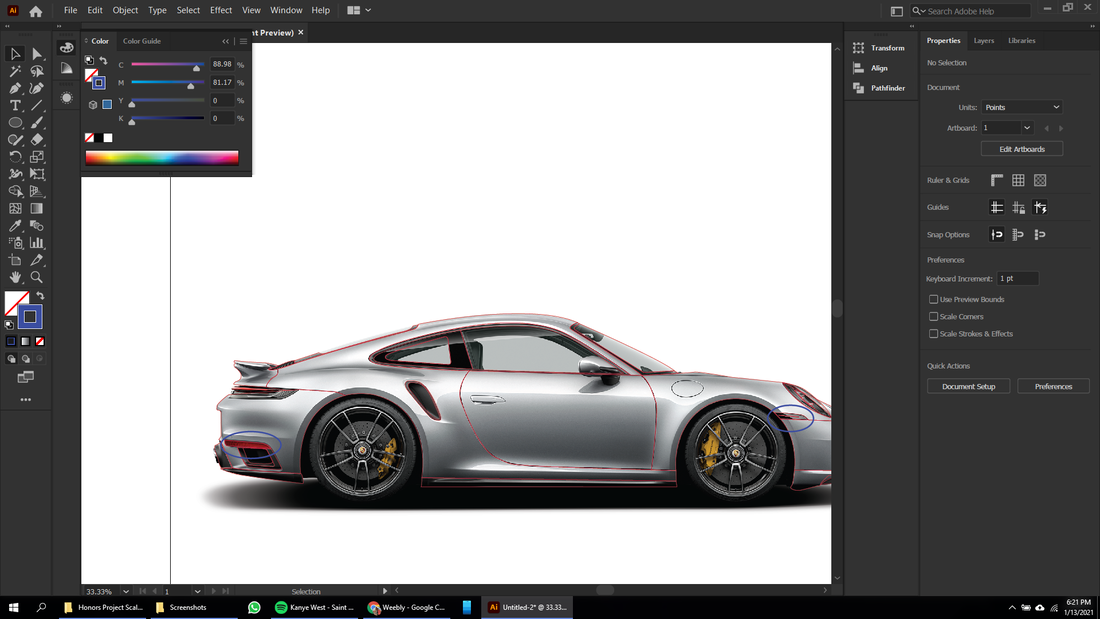
After making the reflectors (which are within the blue circles) we are now going to move onto the brakelights.
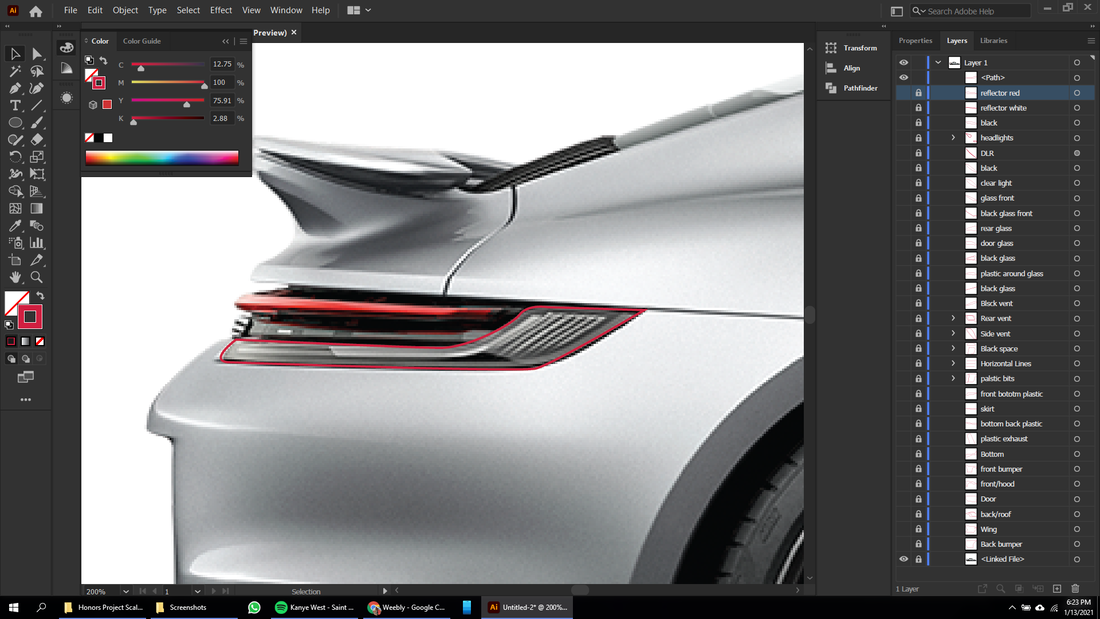
Again we will start with the clear part. Next we will make the black background.
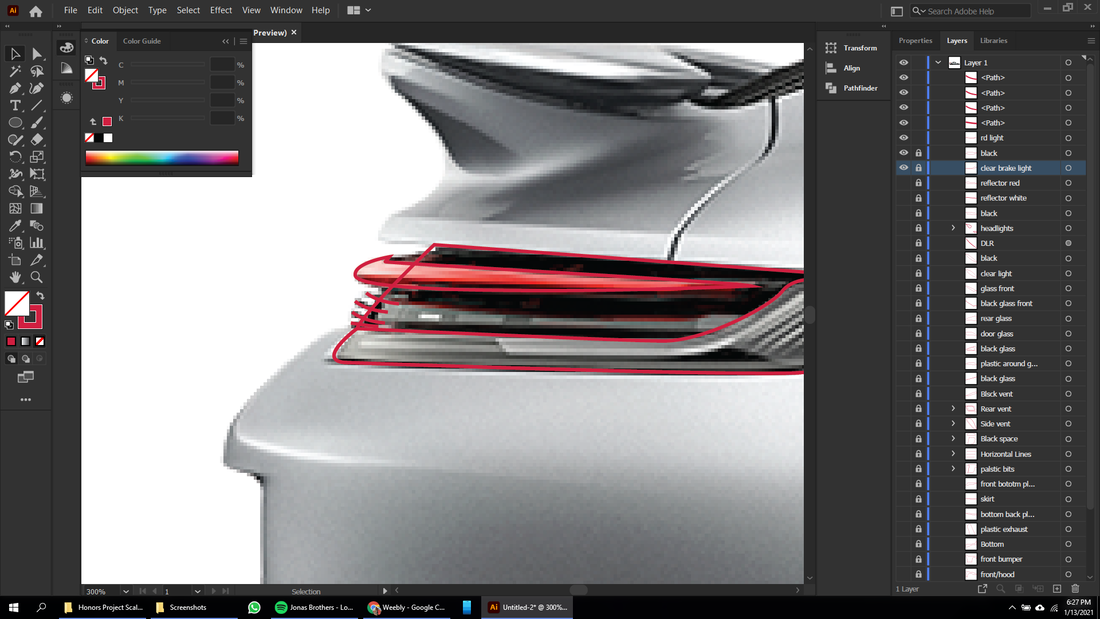
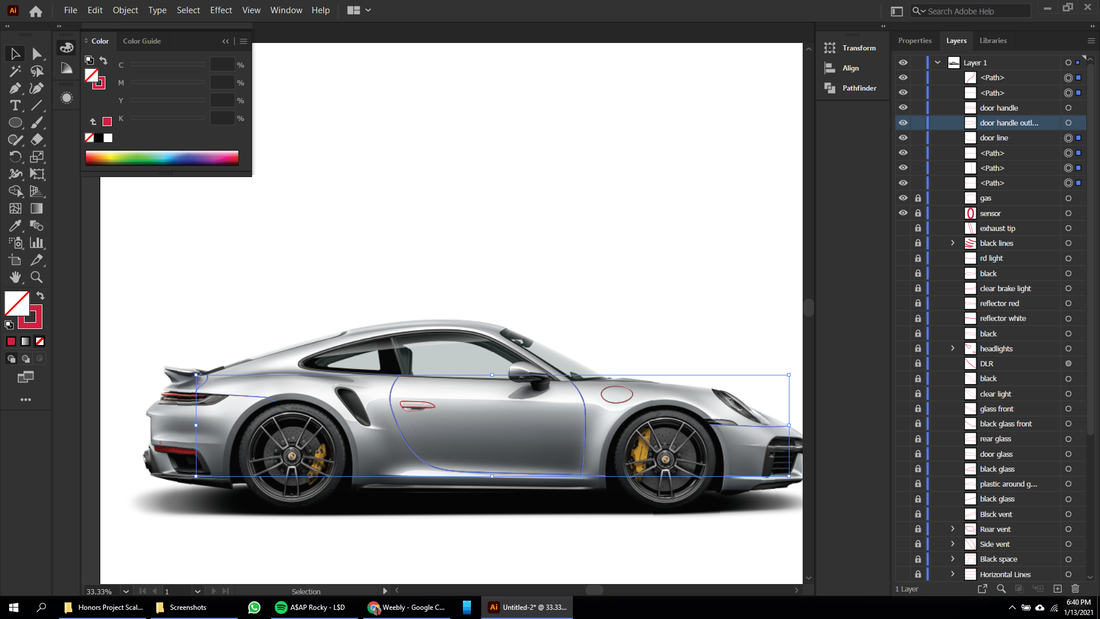
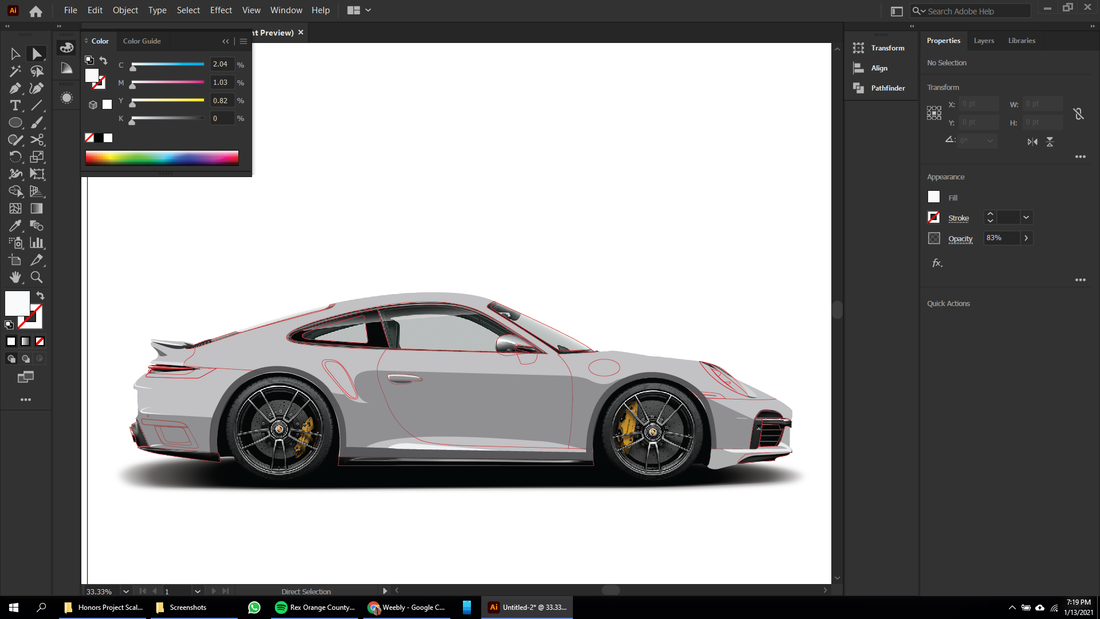
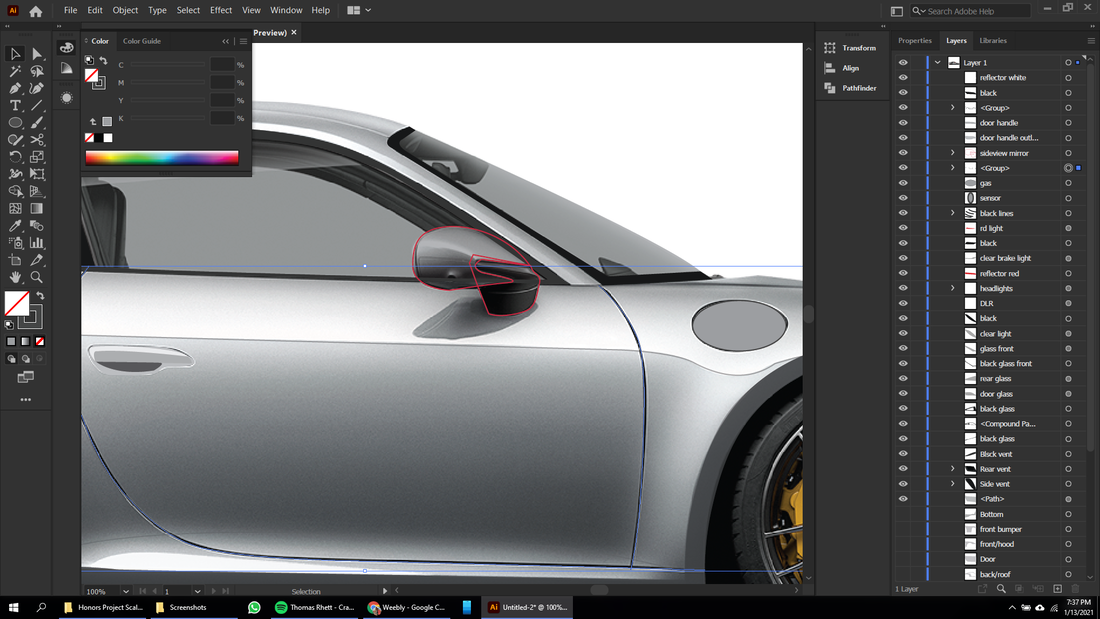
After that's done, we're moving onto the light itself and small details like the black lines that go out. You can add the silver lines if you'd like to make your porsche a little more detailed. After this, we are going to move onto and small details and objects with outlines (sensors, gas caps, doors, door handles, etc.) You might want to keep the layers hidden for this to see all the details hidden under them.
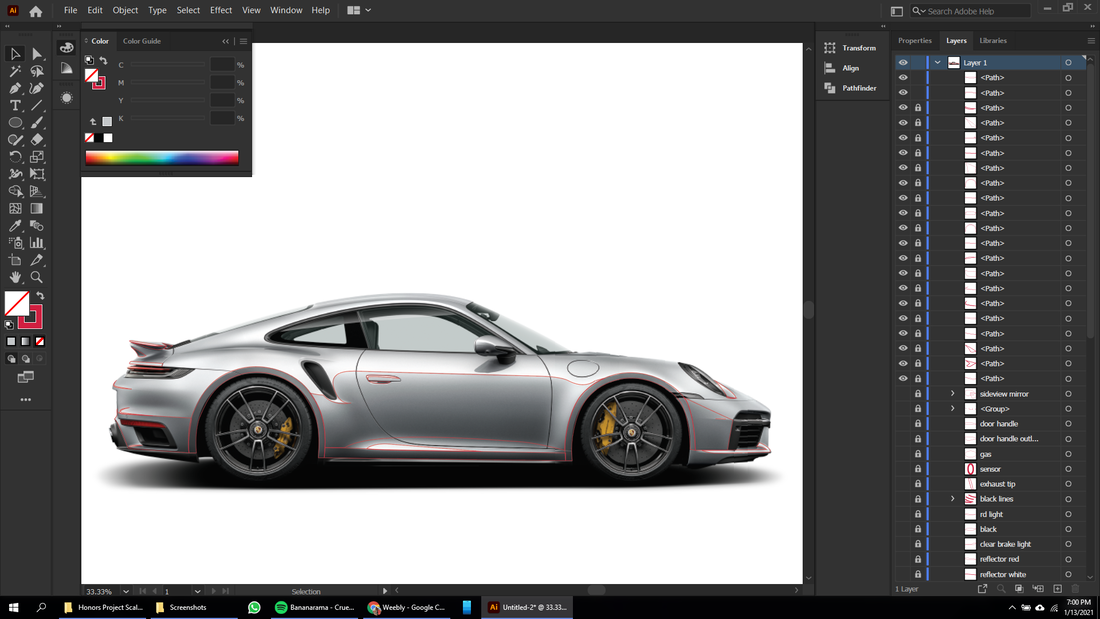
We are going to group all the lines for ease and to minimize clutter. After you get all the details, we are going to start shading. First make sure all the layers are not visible, it'll make this easier. We'll start from the back. We are just going to focus on the harsher shading and big parts.
Like previously mentioned, we are only going to do shading for the harsher parts, so anything that is much darker or brighter we will do. We will color this all in later and lower the transparency, and will tweak it at the end as needed. Make sure not to go overboard with the shading, as it will make the car seem out of place since we're going for a minimalistic look.
Now your shading might not look exactly like mine, I like to get most of the big ones, the most noticeable shadows and highlights, but if you want to be more detailed than you can use gradients and shade a lot more, or if you want a more simple design use less shading. Regardless, now we will start filling everything in with colors, starting with the shading.

After selecting the piece you want to color, select the eyedropper tool (I) and drag it around that area until you find the color you want. Do this with all the shading, and adjust the transparency accordingly to the strength of the shadow or highlight.
After finishing, it should be barely noticeable. Now we will begin filling in everything else. We are going to show and also unlock every other layer, and start from the back of the car and moving up. This will be similar to how we did the shading, but now we need to keep layering in mind.
After coloring in the first piece, we might encounter some imperfections, such as overlapping on excess, we will fix these as we go with the direct selection tool (A) or the shape builder tool (Shift+ M). Also, try to keep the colors of the body similar.
Now we just have to trust the process. After finishing all the main parts, hide them and work on the little details,plastic bits, and everything else we've made since then.
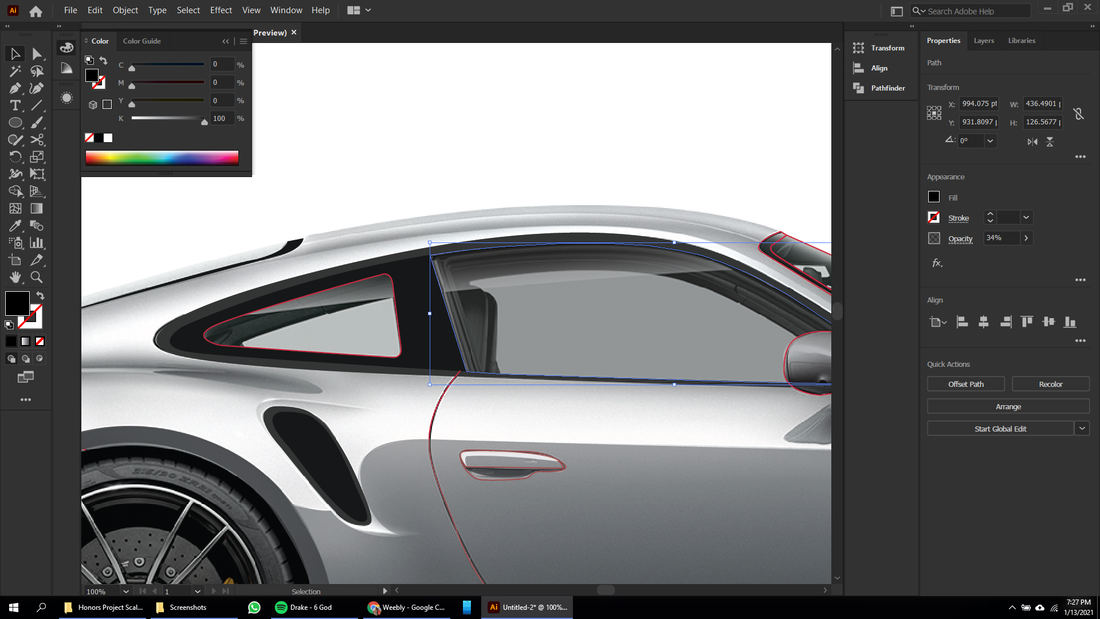
For glass, we are going to make the fill black, with no outline, and reduce the opacity to 34%. This applies for all the glass. As for the clear parts (like in the headlights), follow the same steps, but with white instead of black.
Once you get to the lights, color them white (make the running light a white stroke with no fill, and vice versa for the other lights.) Now select them all and go to the effects panel.
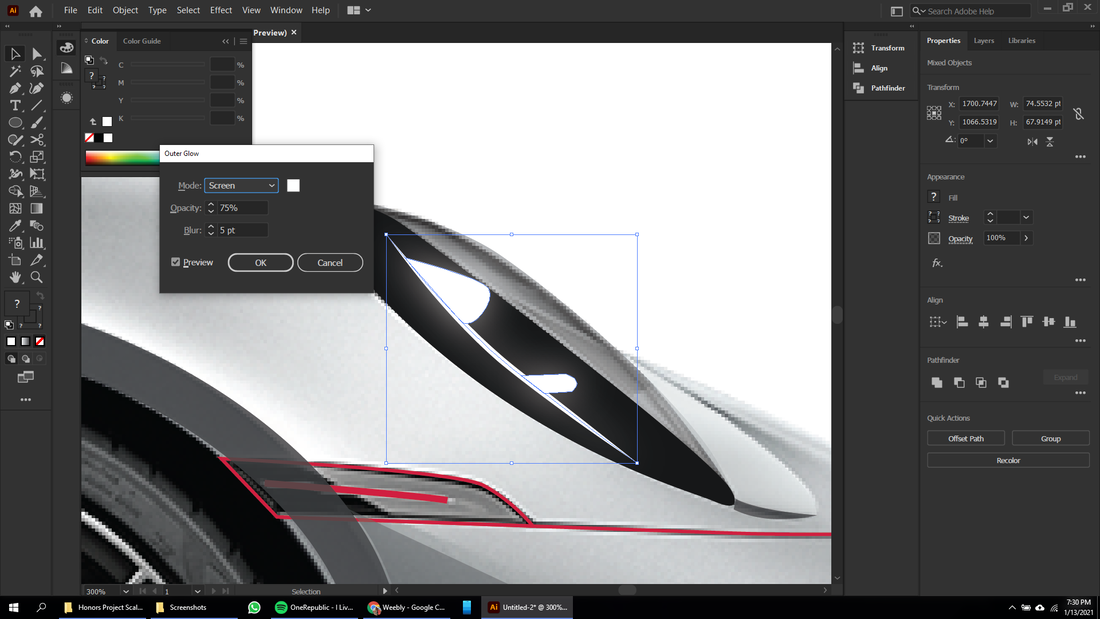
Go to Effects> Stylize> Outer Glow and put in these settings. Do the same with the brake light but change the white color to red.
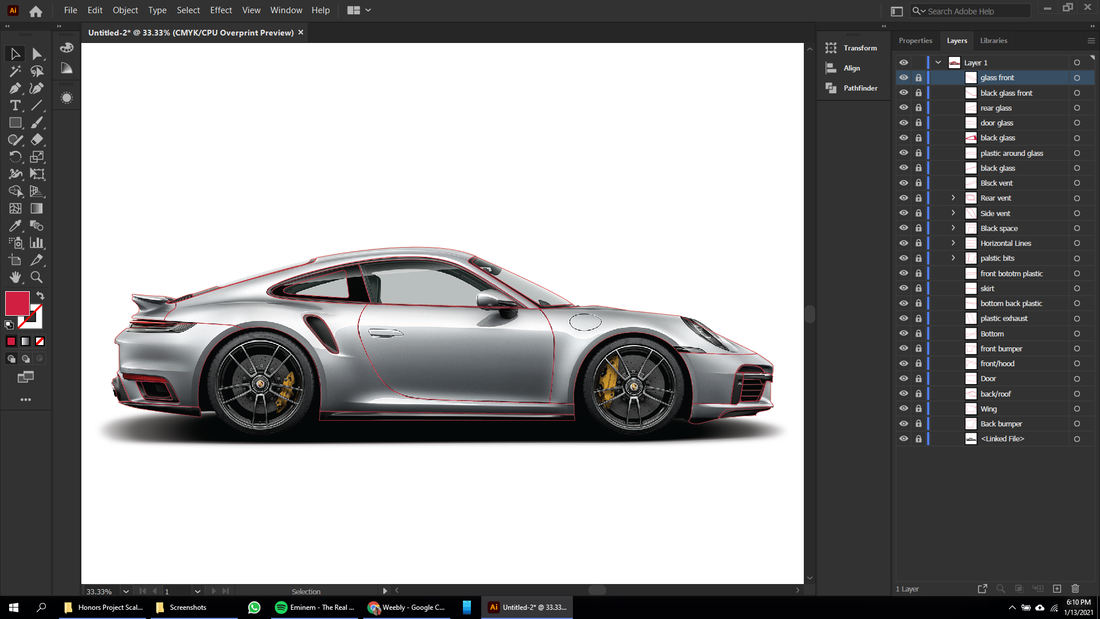
For the lines we made earlier, and certain objects like the gas cap, pick a color a bit darker than the body color and apply it to the stroke color. For the lines, don't put any fill. After you finish filling in everyone with color and organizing the layers, make them all visible and give them one last inspection to make sure everything is where it's supposed to be.
At this point, it should look something like this. Now we can move on to make the wheels.
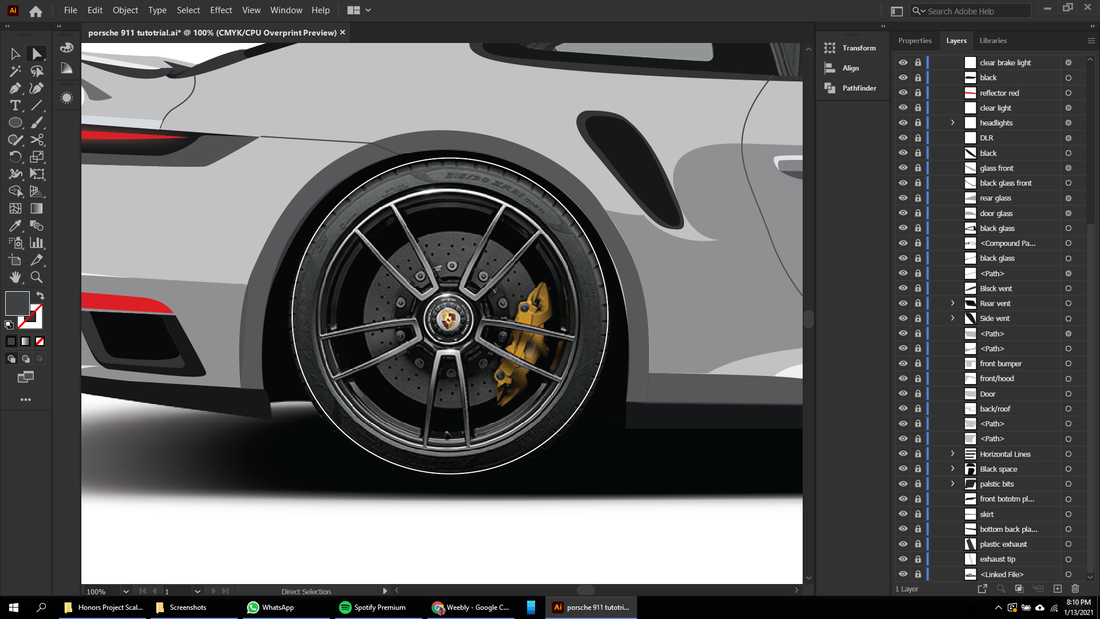
First you are going to make a big circle like seen above, which will outline the outside of the tire. Then make a smaller circle that will be the inside of the tire. Fill them both, and using the shape builder tool (Shift+M), take out the middle. It should look like the image below.
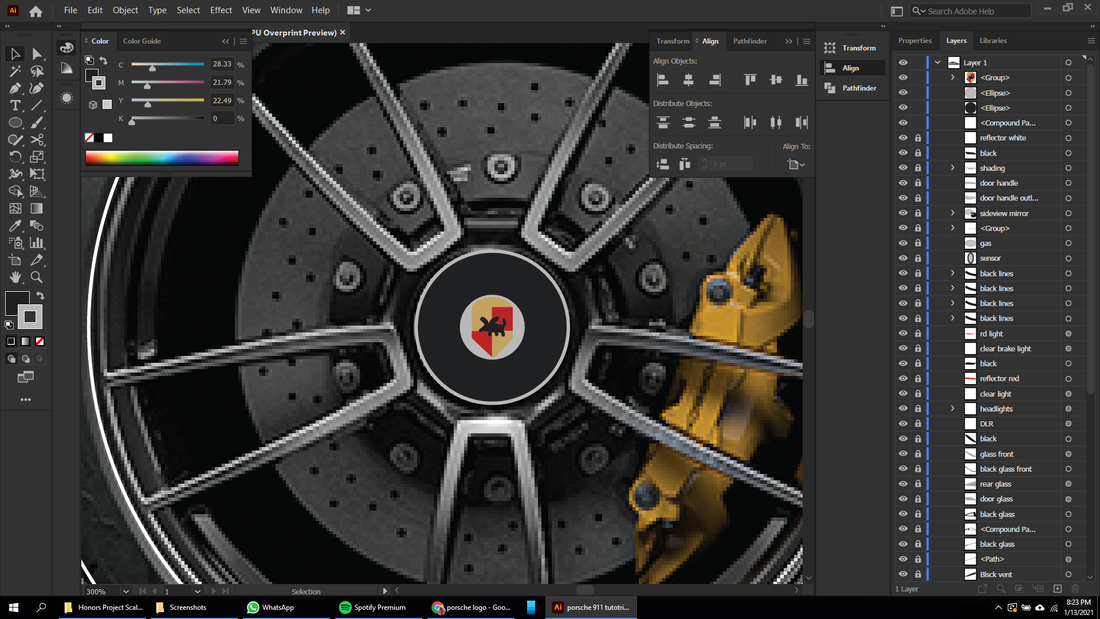
Now simply make this an outline again (Shift + X) and let's make the wheel. We will start with the logo, it doesn't have to be very detailed at all, and you'll see why soon.
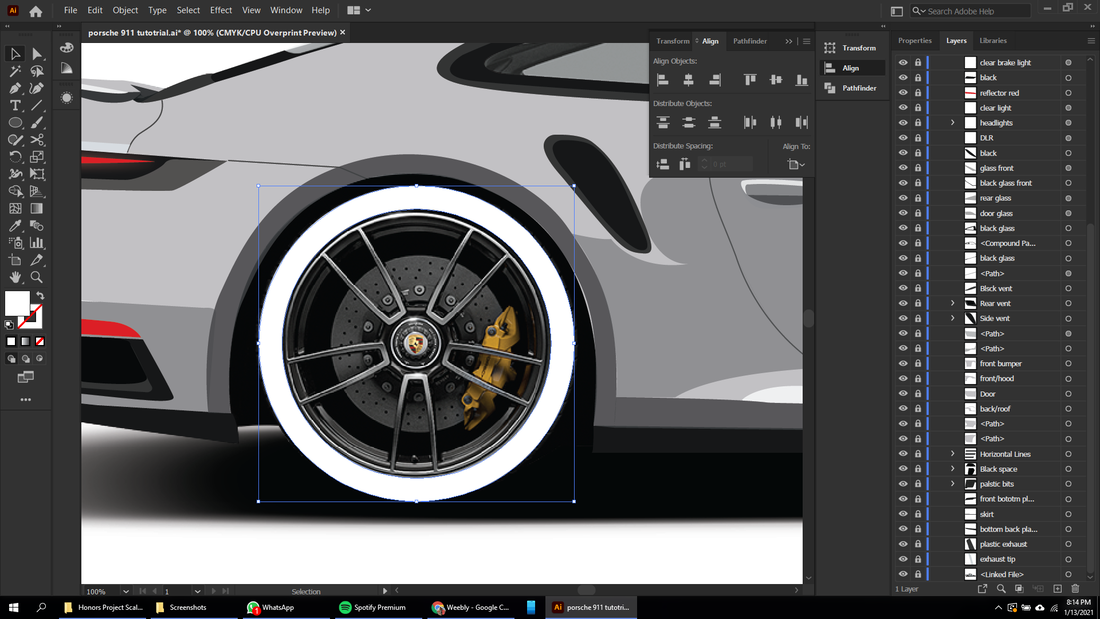
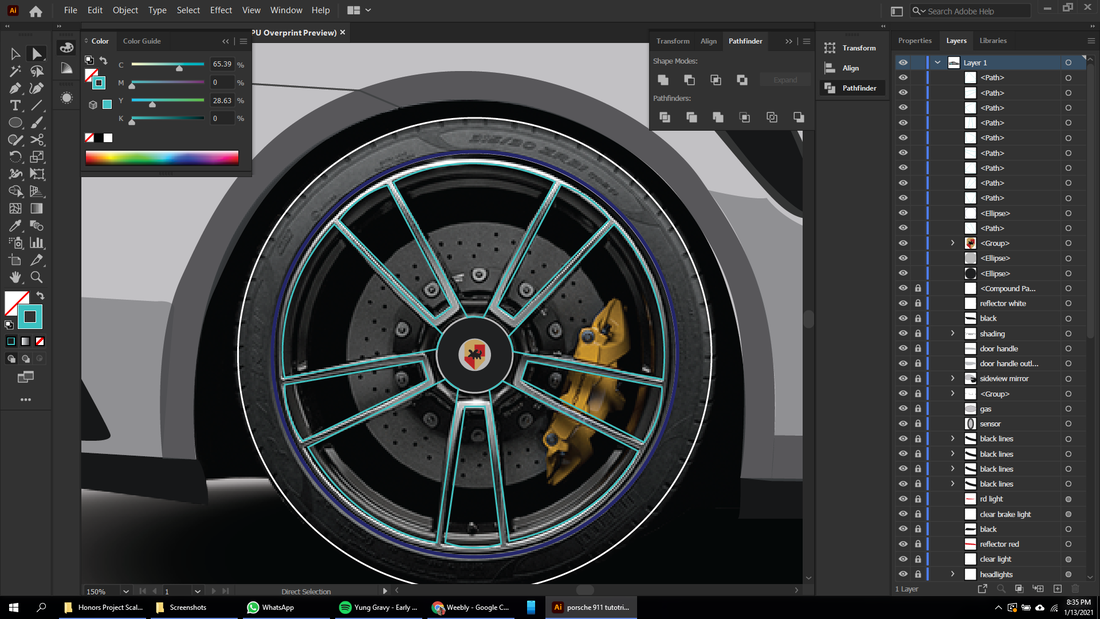
After making this very crude emblem, we are now going to make the wheel. We'll do this by making a large circle that covers everything, and with the pen tool, making paths where we don't want the wheel to be.
We are going to select these two objects and use the rotate tool (R). Hold alt and click in the middle of the wheel, and put -72 degrees and press copy. Repeat that all the way around, adjust as you need.
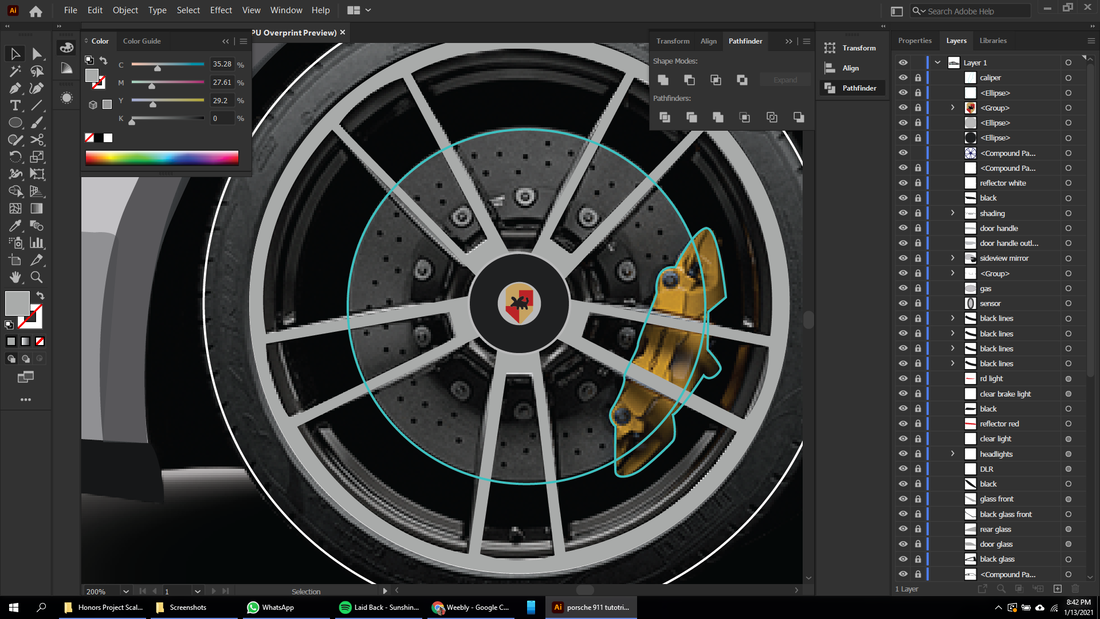
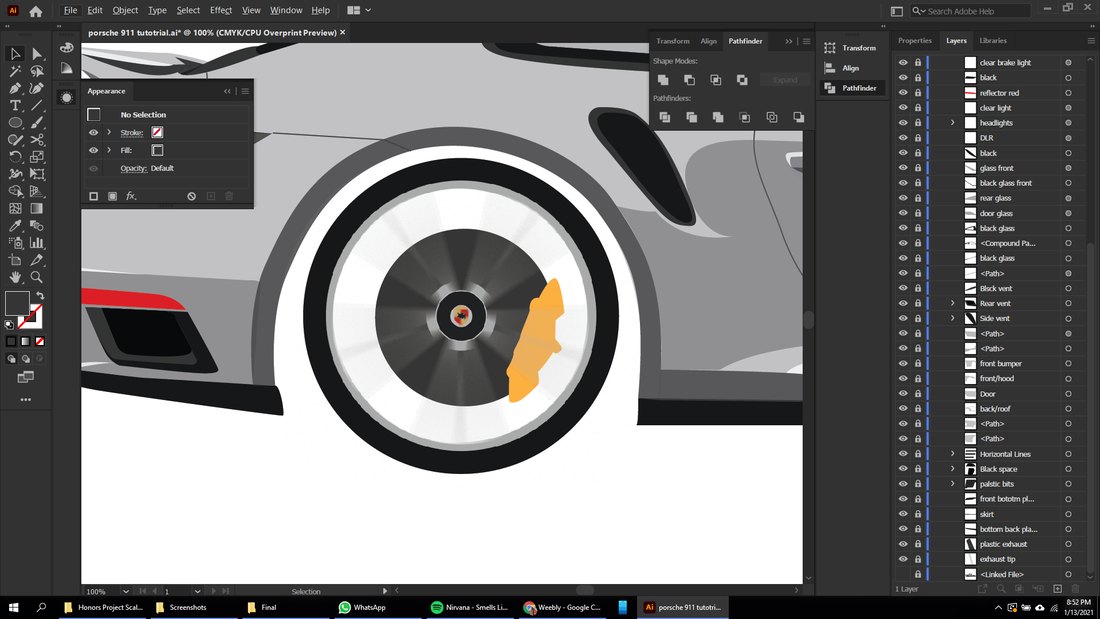
After that it should look something like this, again it doesn't have to be very exact. Now let's make the brake caliper and drum. this will be as simple as just make a circle and following the general pattern of the yellow caliper with the pen tool.
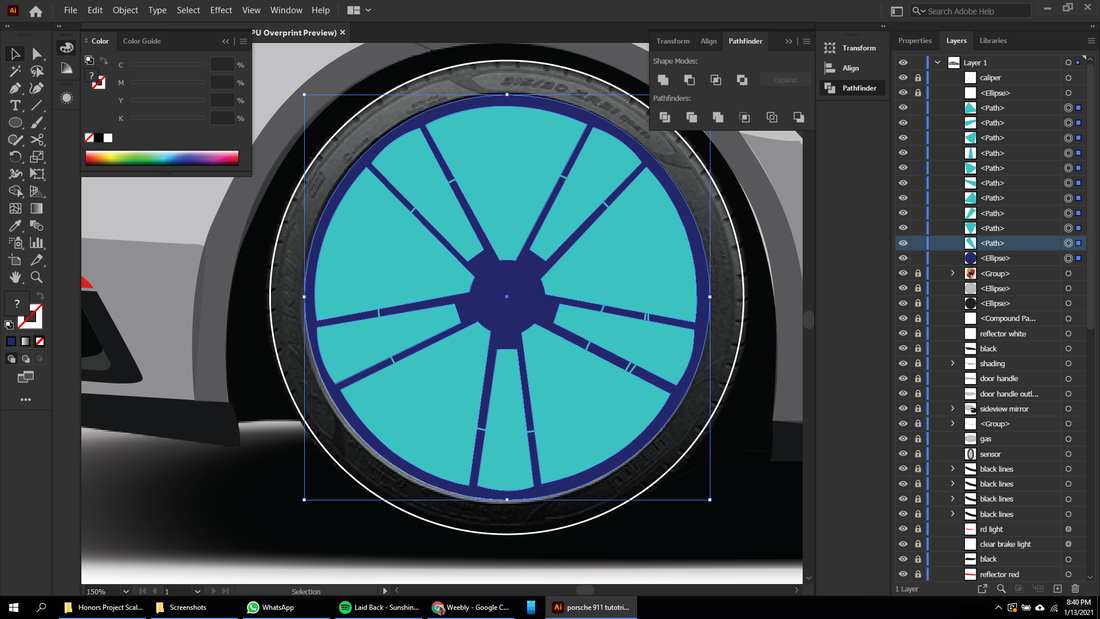
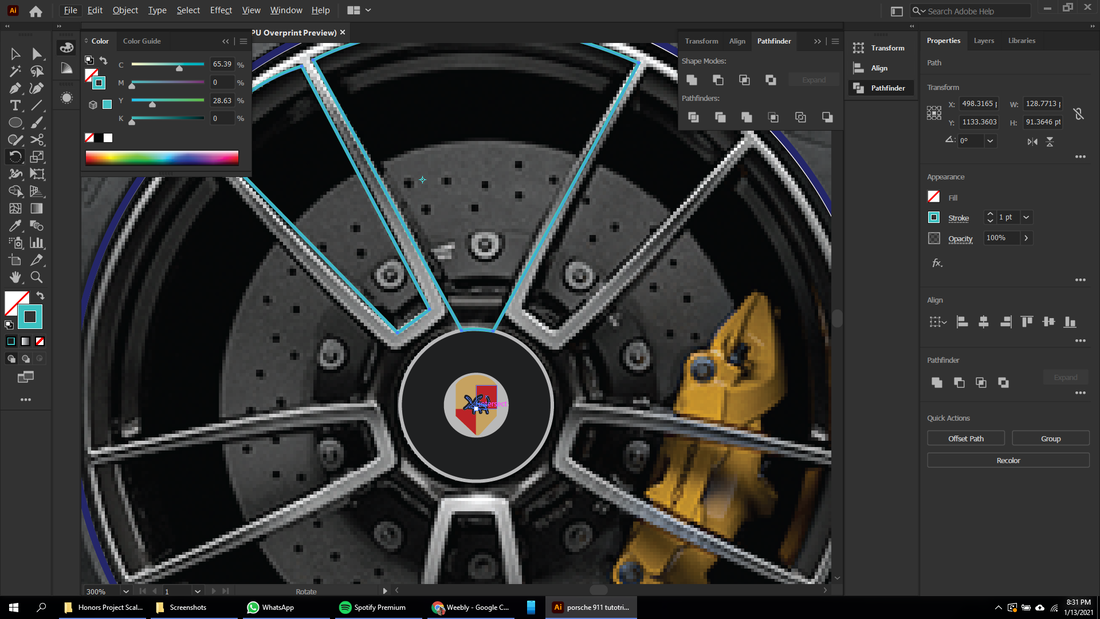
After that's done, select all the gaps we made for the wheel and the circle, fill them in and using the shape builder tool (Shift+M), get rid of the teal parts.
After reorganizing and filling everything in with the appropriate colors, select the wheel, center caps (logo and parts around the logo) and go to Effects>Blur>Radial Blur.
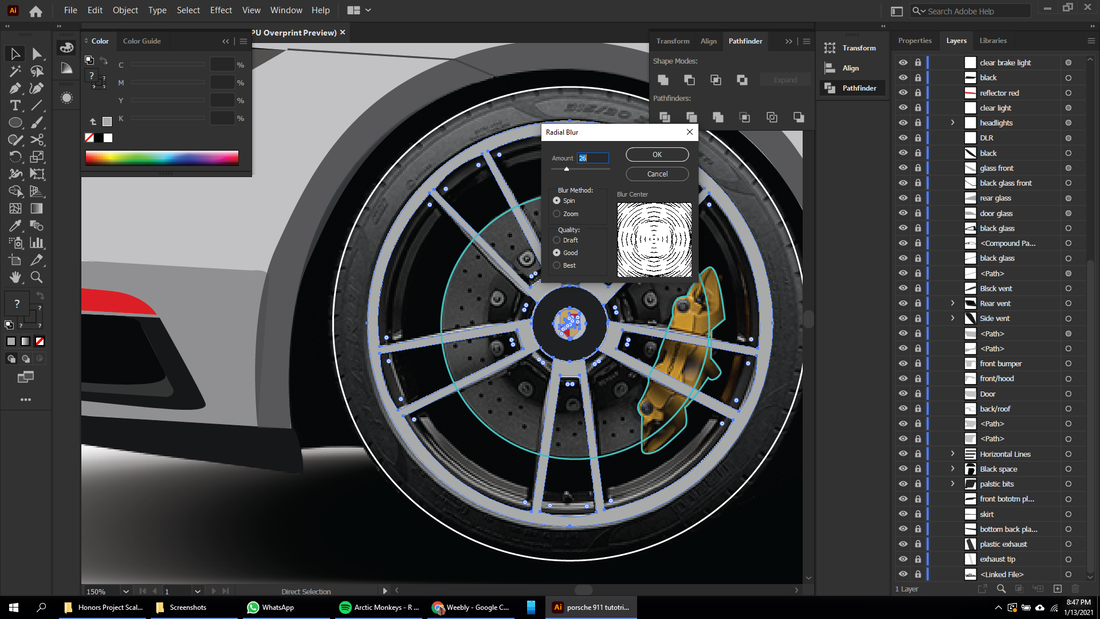
Put in these settings, and it will make it look like the car is in motion. Now let's color in the tire, drum, and caliper.
The end result should look something like this. Now we are going to copy this and paste it on the front. After that, we'll make a large black path.
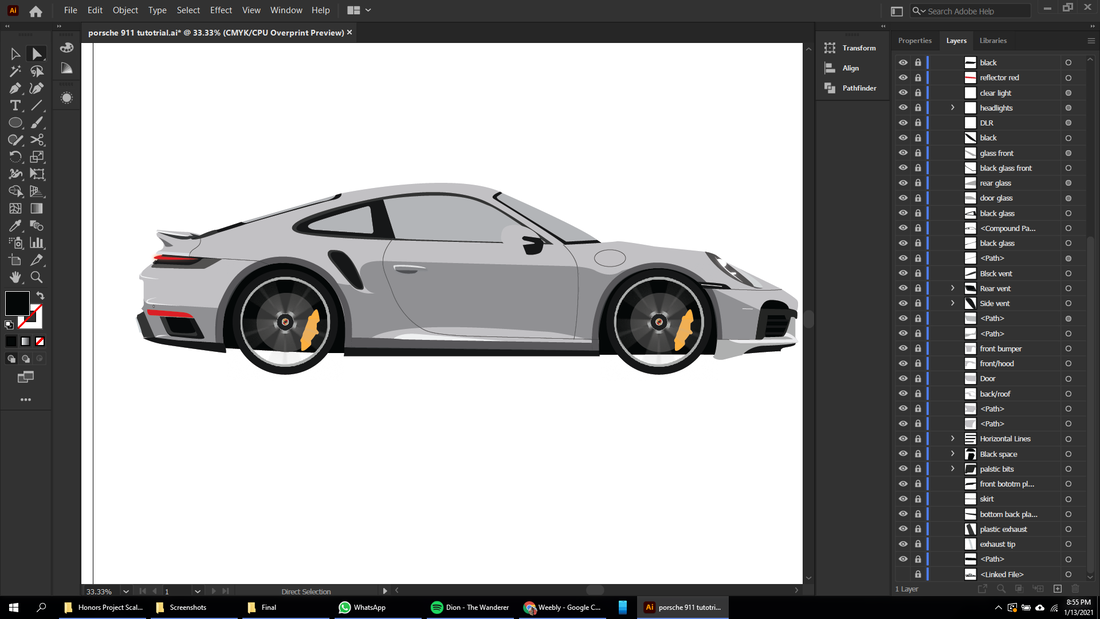
After putting that black path behind everything else, the finished product should look something like this! Now, after taking 5 minutes to admire your great work, we can move onto making a nice setting for your new 911.
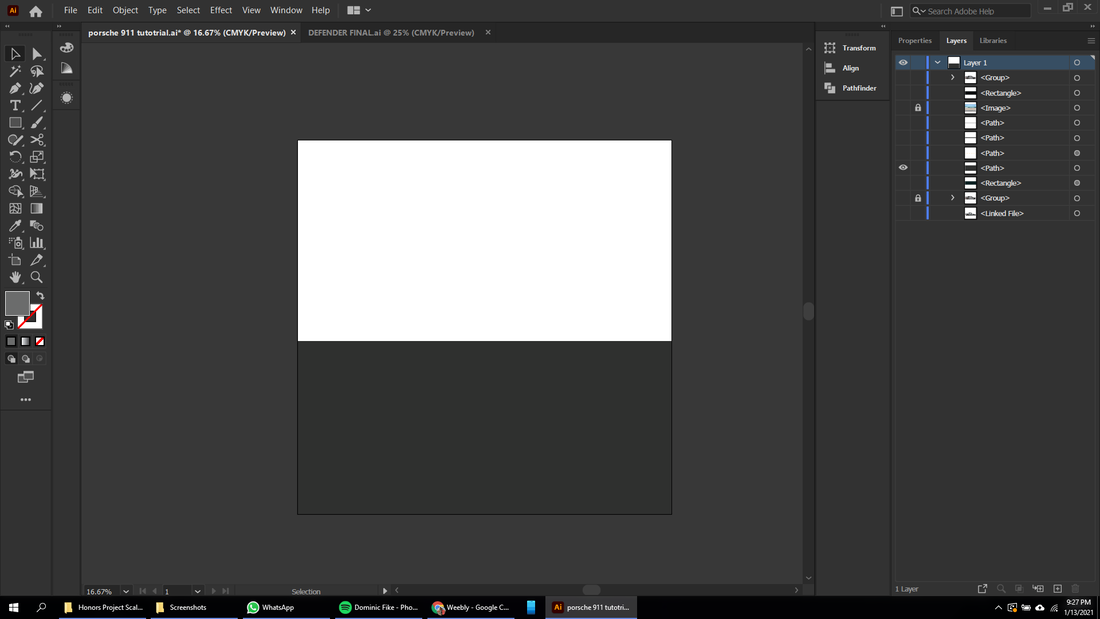
We'll start with a large light gray square that will take up a little less than half the screen. This will be our road. Now let's make some little details.
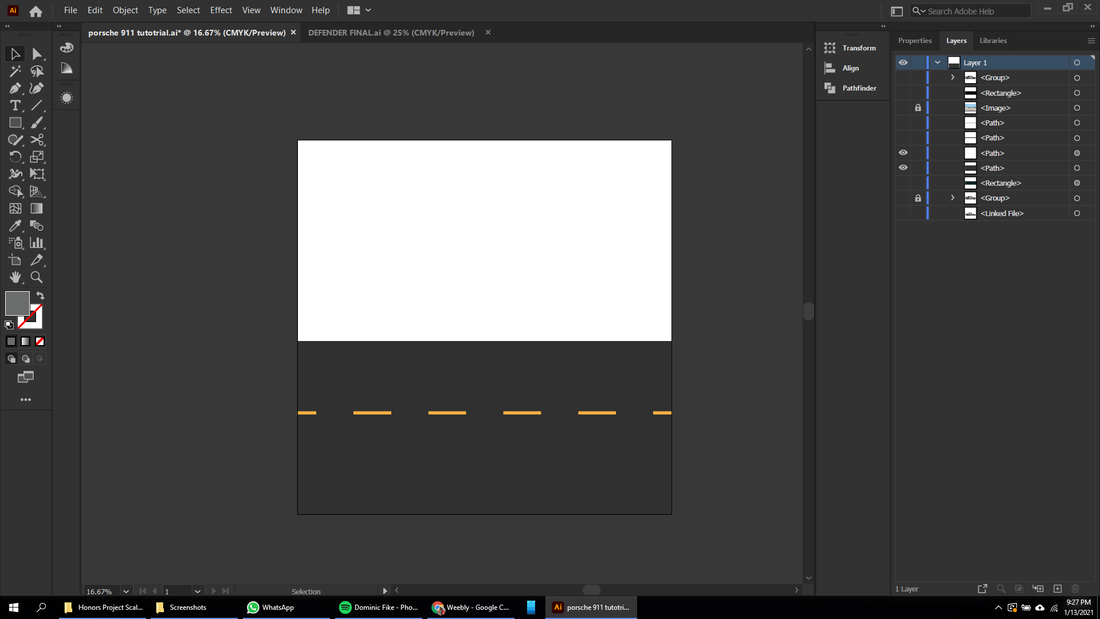
We're going to put a horizontal line using the pen tool (P), make it yellow, with a stroke size of 16 and dashed line check with a dash of 200.
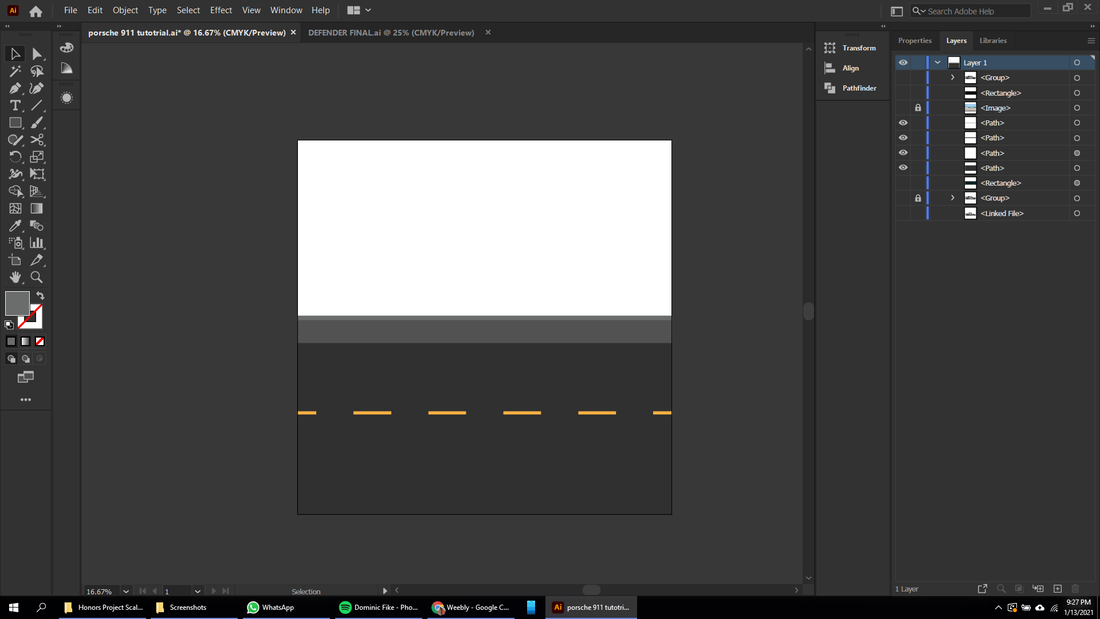
Now, to add some depth (and safety of course) we're going to create a barrier. It'll just be 2 simple rectangles, the top one being lighter.
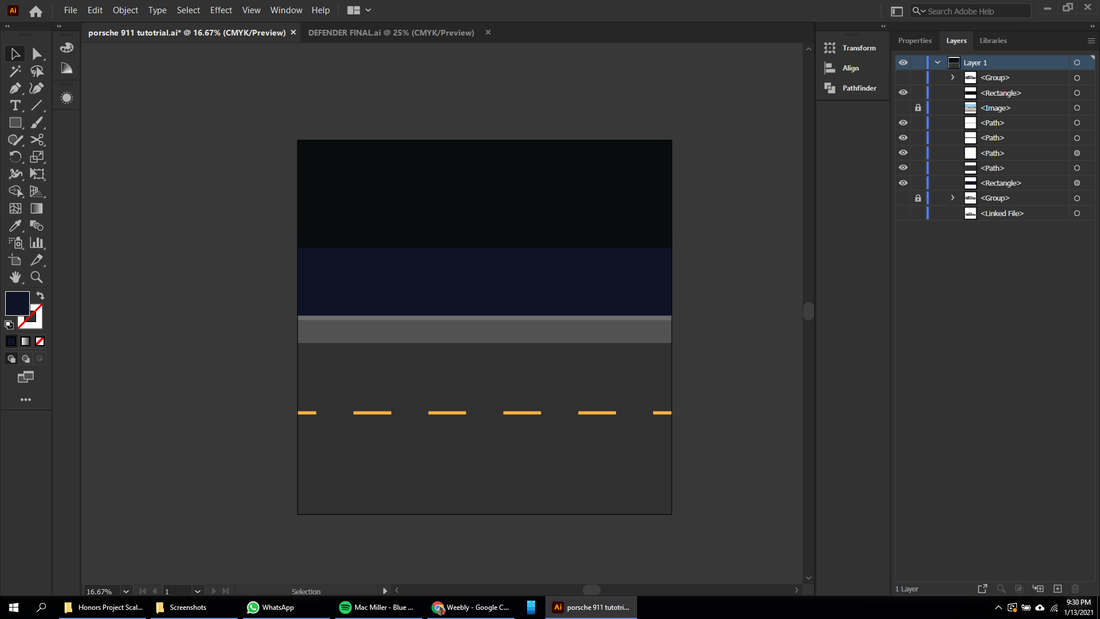
Now we're going to add two more rectangles, the night sky and the ocean. If you want a more upbeat scene you could make it daytime by making everything a lighter color. Now let's just add some stars using the brush tool (B), make the car visible, and add some light.
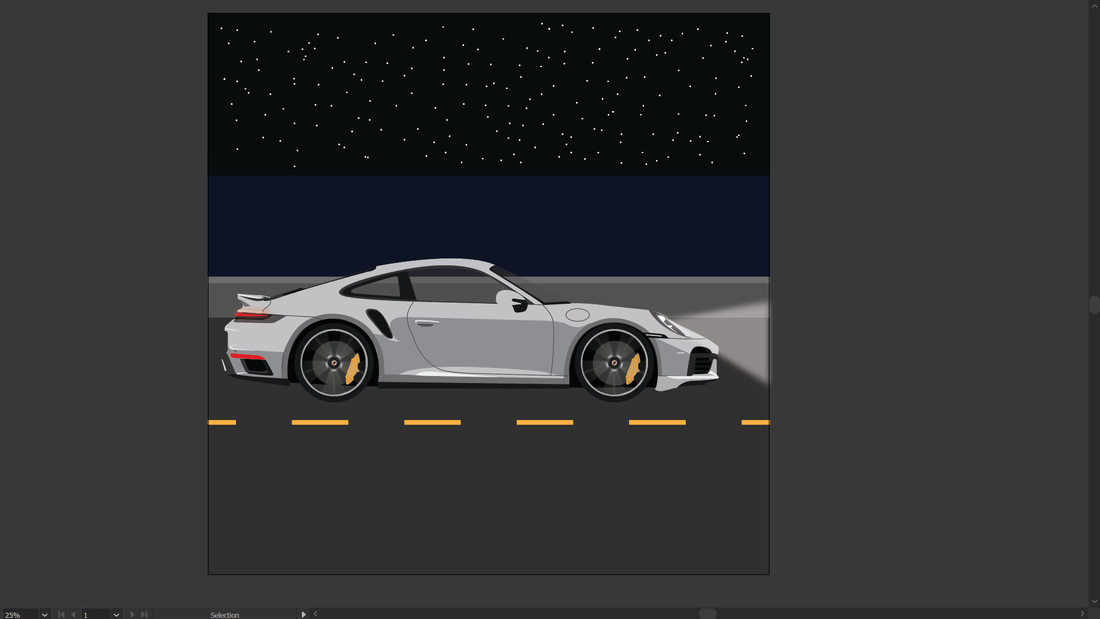
We're going to make a small triangle in front of the headlight, fill it with white, make the opacity 35%, and go to Effects>Blur>Gaussian Blur, and put a radius of 38. Congrats, you finished.
